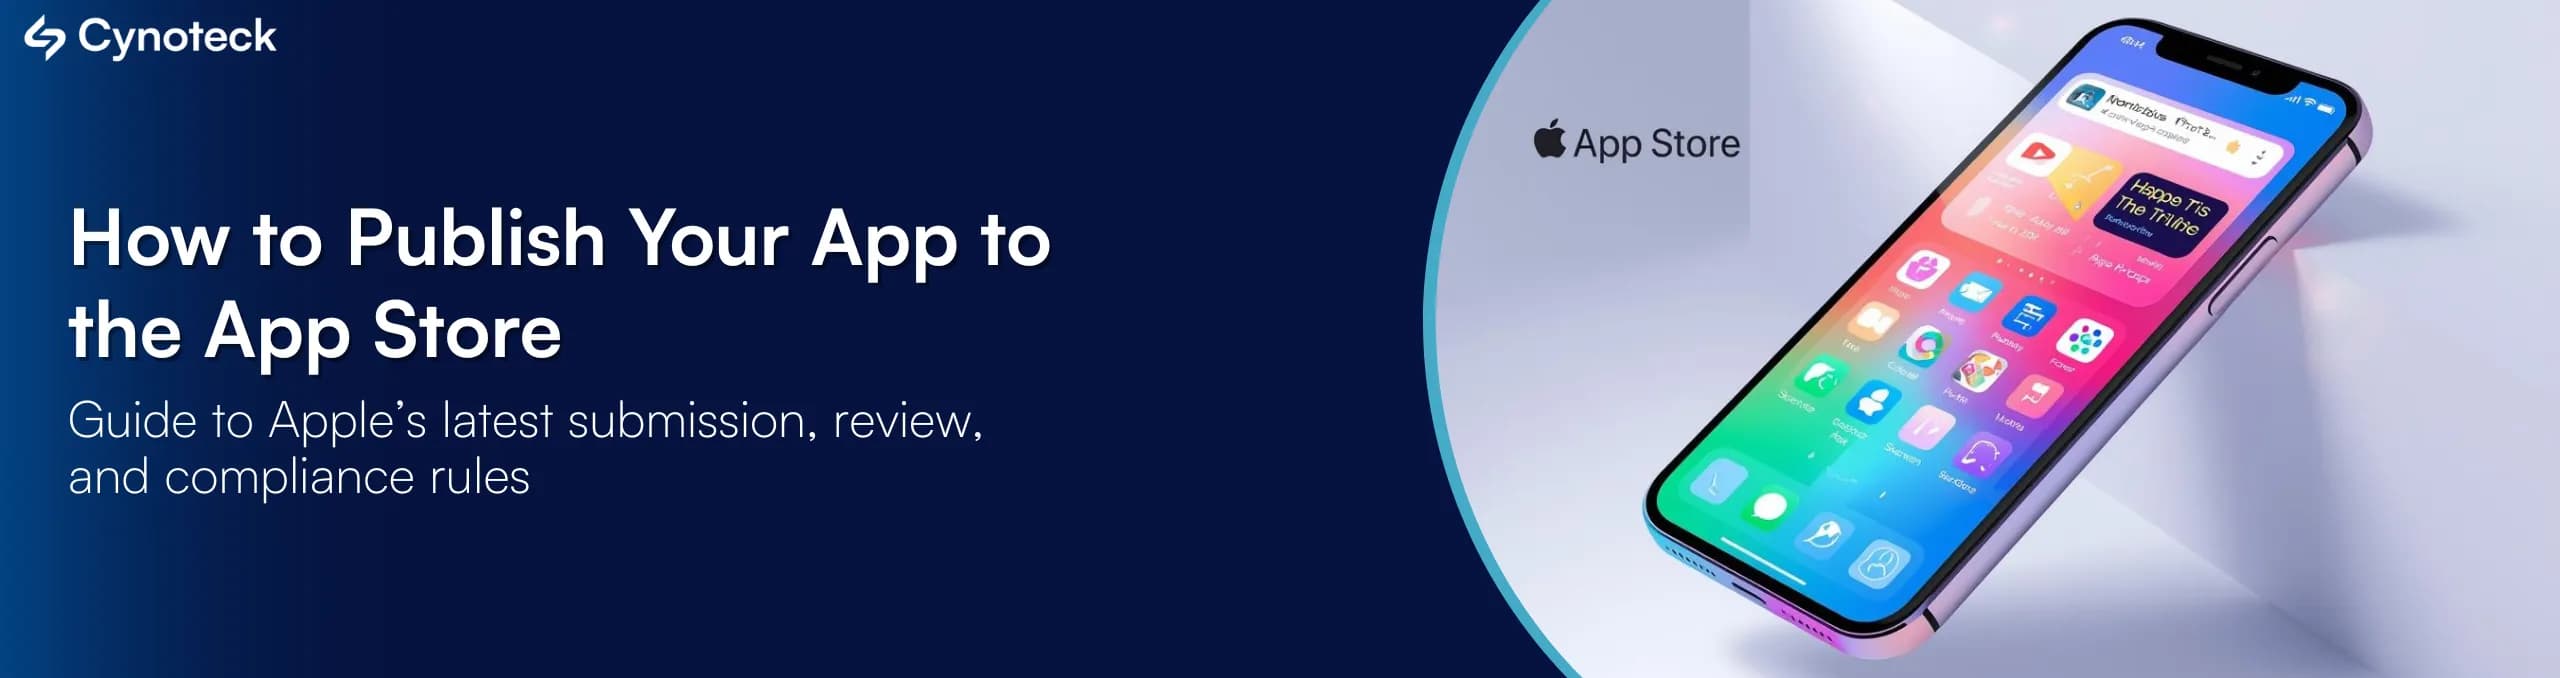
How to Publish Your App to the App Store in 2026
The Apple App Store hosts approximately 1.8–2 million iOS apps as of 2026, providing app developers access to Apple’s vast global user base. Successfully publishing an app in the App Store opens doors to reaching users in 155 countries around the world.
With iOS running on over 1.5 billion active devices globally, the App Store remains one of the highest-value distribution platforms for mobile apps. But Apple's review process, privacy requirements, and submission guidelines have grown significantly more detailed over the past two years — and first-time publishers often hit avoidable roadblocks.
This guide walks you through the complete process of publishing your iOS app on the App Store in 2026 — from setting up your developer account to navigating Apple's updated privacy manifest requirements, screenshot specifications, and phased release options.

Getting your app ready for release on the App Store begins long before you upload it for review. Apple has extensive App Store Review Guidelines that outline what is permitted and in 2025–2026, these requirements have become significantly more detailed around privacy, AI content, and technical compliance to follow when developing your iOS app.
Note: Understanding these requirements before you write a single line of code will save you from rejections, delays, and last-minute rewrites.
Apple's guidelines cover safety, performance, privacy, monetization, and legal compliance. The January 2025 update introduced specific rules around AI-generated content, age rating accuracy, and data collection disclosures. Don't just skim the sections relevant to your app category — read the full document. Guidelines that seem unrelated today can become relevant as your app evolves.
Tip: As you develop your app, continually refer to the key guidelines around safety, security, performance, business models, and legal issues.
Since May 2024, every app submitted to the App Store must include a PrivacyInfo.xcprivacy privacy manifest file. This file declares what data your app collects, which privacy-sensitive APIs it uses, and the specific reason for using them. Apple automatically rejects builds without this file — no exceptions.
If your app accesses certain Apple APIs — such as file timestamps, disk space, active keyboard state, or user defaults — you must declare the reason for using them inside your privacy manifest. This is one of the most common causes of rejection in 2025–2026 and catches many developers off guard.
Apple no longer accepts builds created with older versions of Xcode. Ensure your entire build, archive, and export workflow uses Xcode 16 or later. Also verify your deployment target — as of 2026, iOS 16 is the practical minimum for new App Store submissions given active device distribution.
If your app generates or displays AI-generated content in any form, Apple requires a clear user-facing disclosure. This became a formal requirement in the 2025 guidelines update and is actively checked during review. Apps found non-compliant after approval can be removed.
Any third-party SDKs, libraries, or frameworks you use must also meet Apple's privacy and compliance standards. Third-party SDKs that access privacy-sensitive APIs need their own privacy manifest entries — Apple checks these at the SDK level too.
Before submitting for App Store review, distribute your app through TestFlight. TestFlight supports up to 10,000 external testers and gives you real-world feedback before your app goes live. Note that Apple reviews TestFlight builds too — so they need to meet the same compliance standards as your production submission.
Test on physical devices, not just simulators. Pay attention to performance on devices running iOS 16 and iOS 17, which still represent a meaningful share of your potential user base. Fix all crashes, memory issues, and UI problems before submitting.
Before submitting apps to the App Store, developers must enroll in the Apple Developer Program. This program provides access to various app distribution and development resources that help you build and launch iOS apps. When ready to publish, the program lets you submit your finished apps to the App Store for review and release.
The standard membership for individuals and organizations who want to distribute apps on the App Store. This is what most developers need.
For organizations distributing apps internally to employees only — not through the App Store. Requires additional eligibility verification.
Available to anyone, but it cannot distribute apps to the App Store. Useful only for development and device testing.
The $99/year membership includes: Xcode beta access, TestFlight for up to 10,000 beta testers, App Store Connect, signing certificates and provisioning profiles, CloudKit, push notifications, and access to WWDC sessions and developer documentation.
The fee renews annually. If your membership lapses, you lose the ability to submit app updates — though your existing apps remain live on the App Store.
If your goal is to publish on the App Store, you need the standard Apple Developer Program at $99/year. The fee renews annually — if your membership lapses, you lose the ability to submit app updates, though your existing apps remain live.
Signing up for the Apple Developer Program is straightforward for individuals but can take longer for organizations. Here's the complete process:
Have an Apple ID ready — use an email address you check regularly, as Apple sends important account and review notifications here.
Make sure Two-Factor Authentication (2FA) is enabled on your Apple ID — Apple requires this to enroll in the Developer Program. Without it, you cannot complete signup.
If enrolling as an organization, have your D-U-N-S number ready. If your company doesn't have one, request it from Dun & Bradstreet before starting — it can take 1–2 weeks to receive.
Go to developer.apple.com/programs/enroll and click "Start Your Enrollment."
Log in with your existing Apple ID or create one if you don't have one. This Apple ID becomes permanently tied to your developer account — choose one associated with your primary business email.
Individual / Sole Proprietor — your legal name appears as the developer name on the App Store.
Organization — your company name appears; requires D-U-N-S number and additional business verification.
Government Organization — for government entities only.
Choose carefully — switching enrollment types later is not straightforward.
Individuals: Apple verifies your identity using your Apple ID information.
Organizations: Apple contacts your company using the D-U-N-S number to verify you're authorized to enroll on behalf of the business. This step can take 2–5 business days or longer.
Read and accept Apple's Developer Program License Agreement. This is a legal document — understand what it covers, particularly around app ownership, revenue sharing, and termination clauses.
Complete payment via credit or debit card. The membership renews annually on the same date. If you let it lapse, you can no longer submit app updates — though your existing apps stay live on the App Store.
Individuals: confirmation typically arrives within 24–48 hours.
Organizations: can take several days to a few weeks depending on verification.
You'll receive a confirmation email once your account is active. You can also track enrollment status through the Apple Developer app on your iPhone or iPad. Once enrolled You'll have full access to App Store Connect, Xcode capabilities, TestFlight, signing certificates, and all developer resources. Your next step is setting up your App Record in App Store Connect.
Before submitting any build, you need three things configured in your developer account — these can only be generated with a paid developer account:
A unique identifier registered in your developer account and tied to your bundle identifier in Xcode.
Proves the build came from a verified Apple developer — required for any App Store submission.
Links your App ID, certificate, and device entitlements together — tells Apple exactly what your app is allowed to do.
App Store Connect is Apple's central portal for managing every aspect of your app's lifecycle — from initial setup through submission, release, analytics, and updates. Once your Apple Developer Program enrollment is confirmed, setting up App Store Connect is your next step. Access App Store Connect at appstoreconnect.apple.com using the same Apple ID tied to your developer account.
Click the + button under My Apps to create a new App Record. You'll need to provide:
Platform: iOS, macOS, tvOS, or visionOS.
App name: The name that appears on the App Store — must be unique, max 30 characters.
Primary language: The default language for your App Store listing.
Bundle ID: Selected from the list of Bundle IDs you've already registered in your Apple Developer portal. Note — Bundle IDs are created in the Developer portal first, not inside App Store Connect. Make sure yours is registered before this step.
SKU: An internal reference code for your app — not visible to users.
Once created, your App Record gets a unique Apple ID that identifies your app globally across Apple's systems.
Description:
Up to 4,000 characters. First 3 lines are visible without tapping “more” — make them count.
Screenshots:
iPhone 16 Pro Max (6.9”) is the required primary device size as of 2025. Older 6.5” screenshots are no longer accepted.
App icon:
1024x1024px PNG. No rounded corners, no transparency — Apple applies masking automatically.
Age rating:
Complete the questionnaire accurately. Apple’s January 2025 update tightened rules around AI-generated content and mature themes.
Localization:
Each locale requires its own description, keywords, and screenshots. Set this up properly from the start.
App Privacy section:
Declare exactly what data your app collects and how it’s used. Apple cross-checks this against your PrivacyInfo.xcprivacy manifest — inconsistencies trigger rejection.
App Review information:
Provide demo account credentials if your app requires login, reviewer notes for non-obvious features, and a contact number for the review team.
Export compliance:
Declare whether your app uses encryption. Most apps using standard HTTPS qualify for an exemption.
Agreements, Tax, and Banking:
Must be fully configured before any paid transaction or in-app purchase goes live.
Team access: Grant role-based access to team members — Developers, Marketing, Finance, and App Managers each have different permissions.
With your developer account active and App Store Connect initialized, the next step is building out everything users and Apple's review team will see when evaluating your app. This phase is more technical than most developers expect — and it's one of the most common sources of rejection and poor conversion rates.
Here's what needs to be prepared, with current 2026 specifications:
Size: 1024x1024px
Format: PNG, RGB color space.
No transparency, no rounded corners — Apple applies masking automatically.
Cannot include misleading imagery, pricing information, or competitor references.
Design for recognition at small sizes — it appears as small as 29x29px on some device surfaces.
iPhone 16 Pro Max (6.9") is the required primary device size as of 2025 — older 6.5" screenshots are no longer accepted as the primary required size.
Maximum 10 screenshots per device size.
Format: PNG or JPEG, RGB color space.
Orientation must match your app — portrait apps need portrait screenshots.
First screenshot carries the most weight — most users don't scroll past it.
Add text overlays explaining key features — screenshots with context outperform plain UI captures.
iPhone 16 Pro Max — 6.9" (required).
iPhone SE — 4.7" (if supporting older devices).
iPad Pro 13" — if your app supports iPad.
Maximum 30 seconds per video.
Must be recorded on an actual device — simulator recordings are not accepted.
Resolution must match the target device size.
Design the first 3 seconds to work without sound — App Store autoplay is muted by default.
Show core functionality, not a marketing montage — Apple reviewers and users both respond better to real app behavior.
App name: 30 character hard limit. No pricing, “free,” or competitor names. Apple rejects keyword stuffing in app names.
Subtitle: 30 characters. Indexed for App Store search. Do not repeat words from your app name.
Promotional text: 170 characters. The only metadata field you can update without submitting a new app version. Use for time-sensitive announcements.
Description: 4,000 characters max. First 3 lines visible without tapping “more.” Not indexed for search — do not stuff keywords here. Plain text only.
Keywords: 100 characters, comma-separated, no spaces after commas. Do not repeat app name or subtitle words — already indexed automatically. Do not use competitor names.
Support URL: Required — must be a working, app-specific support page.
Privacy Policy URL: Mandatory for all apps since 2024 — rejection guaranteed without it.
Marketing URL: Optional but recommended.
Select primary and secondary categories carefully — wrong categorization directly hurts organic discovery.
Complete age rating questionnaire accurately based on worst-case content your app can display.
App privacy nutrition labels must match your PrivacyInfo.xcprivacy manifest — treat this with legal-document accuracy.
Apple’s pricing system offers 900 price points across 175 storefronts with automatic foreign exchange management.
Consider enabling pre-orders — pre-order downloads count toward Day 1 numbers and chart placement at launch.
App Store Connect is not a one-time setup — it’s the operational control center for your app’s entire commercial life. How actively you manage it directly affects visibility, conversion rate, revenue, and user retention.
Use Phased Release to roll out updates gradually — 1% to 100% over 7 days — to catch post-update issues before full exposure.
Review crash logs and energy reports by app version and device type after every update.
Track downloads, sessions, active devices, retention, and revenue broken down by source.
Respond to user reviews. Apple’s version-specific ratings breakdown shows exactly how each update affected your rating.
Run A/B tests on your app icon, screenshots, and preview videos. Up to 3 treatments simultaneously.
Create up to 35 unique product pages with different screenshots and descriptions — each with its own shareable URL for targeted campaigns.
Promote time-sensitive content directly on your App Store product page. Surfaces in search results and editorial features.
High-performing teams run a continuous beta channel to test updates before pushing to production.
Automate build, test, and distribution workflows directly from App Store Connect.
For teams managing multiple apps, use the API for programmatic access to analytics, TestFlight, certificates, and metadata.
In Xcode, select Product → Archive to create a distribution archive. Once complete, Xcode Organizer opens automatically. Run Validate App before uploading — this catches missing entitlements, provisioning issues, and privacy manifest problems before they reach Apple’s servers. Fix everything the validator flags. When validation passes, select Distribute App → App Store Connect and follow the prompts.
Note: The Application Loader tool is discontinued — do not use it. For standalone uploads, use Apple’s Transporter app. For command-line workflows, use xcrun notarytool — xcrun altool was deprecated in 2023.
Before formal App Store submission, push your build to TestFlight for internal and external testing. TestFlight builds are valid for 90 days. Gather feedback, fix issues, and only advance to App Store submission when your build is stable across all target devices and iOS versions.
• Select the build in your App Record.
• Complete all remaining metadata, screenshots, and compliance sections.
• Choose release strategy: Automatic (goes live immediately upon approval), Manual (you control launch timing), Scheduled (specific date/time), or Phased Release (1%→2%→5%→10%→20%→50%→100% over 7 days — strongly recommended for major updates).
• Submit for review — current average review time is 24–48 hours.
Apple uses a combination of automated technical checks and human review. Automated checks run first — catching privacy manifest issues, missing entitlements, and API violations within hours. Human reviewers then evaluate functionality, content, and guideline compliance. Current average review time: 24–48 hours.
Functionality: App works as described, stable, no major bugs or crashes.
Security: User data is protected, no malicious code or unauthorized data collection.
Performance: App doesn’t excessively drain battery, memory, or storage.
Privacy compliance: PrivacyInfo.xcprivacy is present, accurate, and matches App Privacy declarations in App Store Connect.
AI disclosure: If your app uses AI-generated content, user-facing disclosure is present.
Guideline compliance: App Store Review Guidelines followed across all categories.
Provide demo account credentials in App Review Information — apps requiring login without these are almost always rejected.
Ensure PrivacyInfo.xcprivacy is present and all Required Reason APIs are declared.
Age rating questionnaire must accurately reflect worst-case content your app can display.
Write clear reviewer notes for non-obvious features, special configurations, or backend dependencies.
Test on a fresh device with a new account — reviewers test cold, not from your development environment.
Approved: Your app is live — or queued for your chosen release date.
Rejected — Binary: Technical issue with your build, privacy manifest, entitlements, or functionality. Address the specific reason and resubmit — re-review typically takes 24–48 hours.
Rejected — Metadata: Issue with your App Store listing — screenshots, description, age rating, or privacy labels. Fix the flagged metadata and resubmit without uploading a new binary.
Apple has a formal App Review Board appeal process. Submit an appeal through App Store Connect explaining your case — appeals are reviewed by a separate team. Many appeals result in approval without code changes. Worth using when rejection reasons seem inconsistent with the guidelines.
Available for critical bug fixes affecting existing users. Request through App Store Connect with a clear explanation. Not guaranteed but frequently granted for legitimate cases.
Publishing on the Apple App Store in 2026 is a more rigorous process than it was even two years ago. Privacy manifests, Required Reason APIs, updated screenshot specifications, AI content disclosures, and stricter age rating enforcement have added real technical complexity to what was already a detailed submission process.
The developers who get through review cleanly on the first attempt share one thing in common — they treat submission preparation with the same discipline they apply to writing code. Reading the guidelines thoroughly, configuring assets to current specifications, testing on physical devices, and providing complete information to Apple's review team aren't optional steps. They're the difference between a 24-hour approval and weeks of back-and-forth.
A few things worth keeping in mind as you move forward:
Apple updates its guidelines regularly — the January 2025 update was significant, and more changes will follow. Make reviewing the App Store Review Guidelines a routine part of your development process, not a one-time read.
Post-launch is where the real work begins — phased releases, TestFlight beta channels, App Store Connect analytics, and product page optimization all require ongoing attention.
Every rejection is documented with a specific reason — treat each one as a precise technical requirement you haven't met yet, not a judgment on your app's quality.
If you're building an iOS app and want a team that understands both the technical and commercial sides of App Store distribution, Cynoteck's iOS mobile app development team has experience shipping apps across industries — from initial architecture through App Store approval and beyond.
We work across native iOS, Android, and cross-platform frameworks including Flutter and React Native. If you have an app idea or an existing product that needs experienced development and deployment support, explore what Cynoteck's mobile app development services can do for your project.
The App Store is competitive — but a well-built, properly submitted app that solves a real problem for real users still stands out. Build it right, submit it right, and maintain it actively. That's the formula that works in 2026.
Expert developers helping you launch faster without complications
Book a Free ConsultationBegin by thoroughly reading Apple’s App Store Review Guidelines (January 2025 update). Add a PrivacyInfo.xcprivacy privacy manifest file, declare all Required Reason APIs, build with Xcode 16+, and disclose any AI-generated content. Run rigorous device testing and distribute via TestFlight before submission.
Visit developer.apple.com/programs/enroll. Sign in with your Apple ID (2FA required), choose Individual or Organization enrollment, complete identity verification, accept the license agreement, and pay the $99 annual fee. Organizations also need a D-U-N-S number which can take 1–2 weeks to obtain.
App Store Connect is Apple’s platform for managing apps throughout their lifecycle. Access it at appstoreconnect.apple.com using your developer Apple ID. Create an App Record with your bundle ID, configure metadata and assets, complete the App Privacy questionnaire, set up agreements and banking, and manage team access.
Prepare a 1024x1024px app icon, screenshots for iPhone 16 Pro Max (6.9”) as the primary required size, and optionally app preview videos (max 30 seconds, recorded on device). For metadata: app name (30 chars), subtitle (30 chars), promotional text (170 chars), description (4,000 chars), keywords (100 chars), Support URL, Privacy Policy URL, age rating questionnaire, privacy nutrition labels, and pricing.
After submission, Apple runs automated technical checks followed by human review. Current average review time is 24–48 hours. Outcomes are Approved, Rejected — Binary (technical issue), or Rejected — Metadata (listing issue). Address rejection reasons precisely and resubmit. If you disagree with a rejection, use Apple’s formal App Review Board appeal process. Expedited review is available for critical bug fixes.
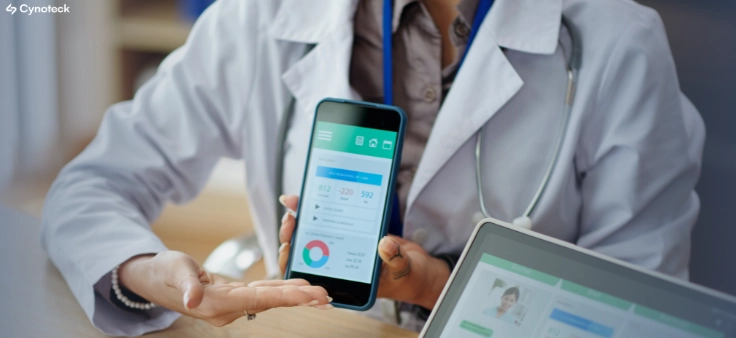
Mobile healthcare apps improve patient care by enabling remote monitoring, timely reminders, secure data access, better communication, and cost-efficient healthcare services through mHealth technology.
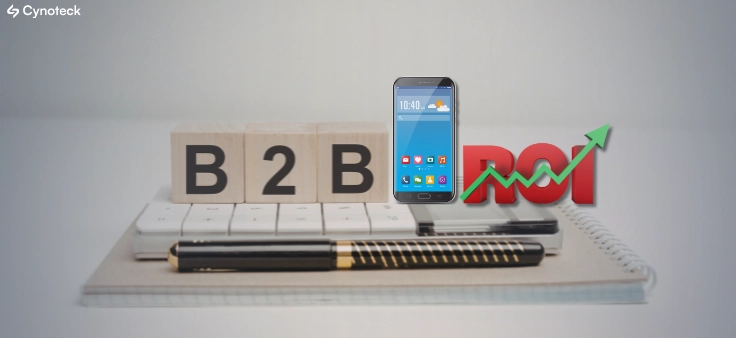
B2B apps help businesses streamline operations, enable on-the-go access to data, improve client engagement, support omnichannel sales, and drive scalable revenue by simplifying complex business workflows.
We are more than just developers and consultants—we are your partners in navigating the digital landscape. Let us be the engine behind your next big success while you focus on your core vision.
Explore Opportunities!
 Mobile App Development Cost Breakdown by App Type, Features, and Complexity (2026).png)